 button.
New cross section views in an existing project are created by clicking
the Home | New |
Cross Section View command or clicking the  button.
Click the Cross Section | Create/Add | Create Cross Section command.
In the Create Well Selector dialog, click the Minimum button to remove all but two wells from the list.
On the left side of the dialog,
Select the Tunalik 1 well and click Add.
Select Kugrua 1 and click Add.
Select Walakpa 2 and click Add.
Select Walakpa 1 and click Add.
On the right side of the dialog,
Select Awuna 1 and click Remove.
Select East Simpson 2 and click Remove.
The well order on the right side is the order the wells should be displayed in the cross section. The Wells in selector should show Tunalik 1, Kugrua 1, Walakpa 2, and Walakpa 1, in this order. If the wells are not in this order, click on the well name and drag the wells so that the order is the same as listed here.
Click OK.
Click Yes in the warning dialog.
In the Import Cross Section Data dialog,
To create the cross section from line/symbol logs, set the Cross section log type to Line/symbol log.
Since the Table is set to LAS Data, the table is defined correctly.
Set the Data Column for each well to SP.
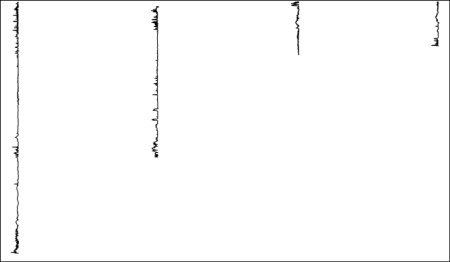
Click OK and the line logs are displayed for each well.

The line logs are displayed for each well.
Back to Downloading and Opening the Data
Next to Importing and Filling Layers