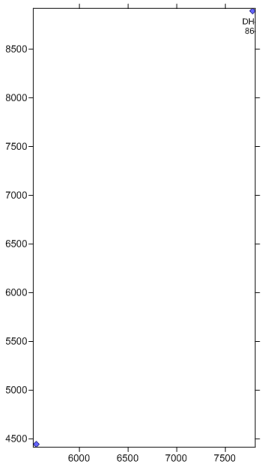
All of the well properties can be edited. To make changes to the well symbol and add well labels:
Click on the Wells 1 map layer in the Object Manager.
In the Property Manager, click on the Label tab.
Next to the Label 1 option, click on [None] and select Hole ID from the list. By default, the name appears below the symbol.
Next to the Label 2 option, click on [None] and select Elevation from the list. This displays the elevation of the well below the well name.
Currently, a scheme is used to display wells, but all symbols can be the same. To not use a scheme, click on the Wells tab in the Property Manager.
Uncheck the box next to the Use keyword scheme for symbols option.
Click on the Symbol tab.
Change the Symbol by clicking on the existing symbol and select any desired symbol from the list.

The wells are changed to use a
uniform symbol. Labels are also
displayed below the wells.
Back to Displaying the Well Locations
Next to Changing the Map Properties